English

Views: 30 Author: Site Editor Publish Time: 2022-11-09 Origin: Site
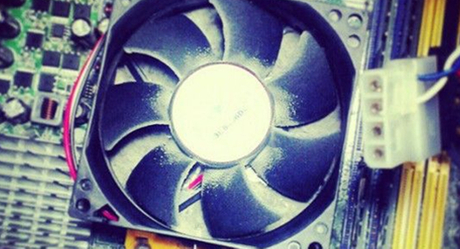
CPU Heat sink technology is constantly advancing, and we will likely need to replace the CPU or CPU heat sink before we even get to the point where we need to replace the computer. This is where we may need to do the CPU Heat sink replacement ourselves. If you don't know how to do it yet, we will teach you in this article.
Whether you are building a PC from scratch or planning to replace your current cooler, you can do so by following the steps we will explain. Of course, you will have to remove your current heatsink or CPU liquid cooling unit before starting the installation, even though you already know this. So, if you're ready, let's get started!

Choosing a CPU cooler
The most important thing is the choice of the cooler, not just the performance it offers. You must choose one compatible with your processor, keeping in mind that AMD and Intel slots require different adapters to place the heatsink properly. So before purchasing a CPU cooler, you need to know exactly what specifications you need to ensure that the product is the one you are looking for. Remember, size is also essential, so choose the right size for your situation and the rest of the components.
Preparation
Once we have the new heatsink, we take great care to remove the old heatsink and remove any residue of thermal paste that may remain. This must be done very carefully and without products that may affect the processor. There are special fluids for this purpose; just use a cotton swab and no pressure,, and you should have no problems. If the thermal paste is too sticky, you can use isopropyl alcohol, but make sure it is precisely this type of alcohol and not another one.
Since we have to replace the thermal paste, it is best to have all the components to install the new heat sink ready before replacing it. Separate the screws and the correct adapters for your processor, which will be explained in the manual of each of our models, and have them ready. The fans will come apart but don't worry. We'll assemble them at the end.
Step by step assembly
If you have to remove the old radiator, you will remove the side panel of the tower so you can unscrew it from the plate and remove the brackets (relatively square pieces of plastic to hold the screws) on the back of which. Now we will have to do the opposite process.
We will first place the bracket from the back of the motherboard and the screws that hold it and secure it, so it does not come loose. Once we are ready, the next step is to fix the heatsink to our processor. For this step, we recommend that you make sure that you place the adapters for Intel or AMD as needed and that they appear in the manual. Otherwise, they will not fit. If you make a mistake, nothing will happen, just change them, but it is a bit tedious. We mount the adapters on the heatsink and secure them with screws.
Once we prepare the heatsink to complete its assembly, we apply a little thermal paste to the processor. Some people make a small cross or a few dots in the central part and spread them out to cover the processor with the help of a card. It is important not to overuse it, and remember that when we fix the heat sink to the processor, the thermal paste will spread over it and should not spill.
Next, we check the heatsink because the part that will pass through the processor has a plastic protector that we must remove. Once this is done, we will screw the heat sink to the bracket. For this step, we recommend dropping the tower because applying the necessary pressure to perform the installation will become very easy.
Check that the screws of the adapter are well installed in the bracket. If not, make sure you can move them slightly to make them fit well. When they fit, we always tighten them in a cross shape so that the heat sink and the processor are in contact in an even way and the thermal paste is well distributed.
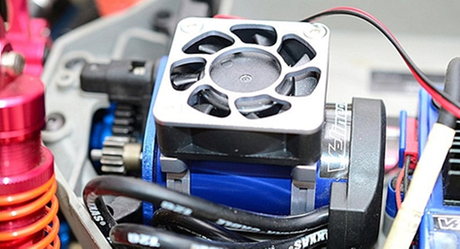
Fan installation
We get to the end of the assembly and have to install the fans. To make it easier, we may need to remove the RAM card. We put the clips on the top and just need to connect the wires in the right places. The fan must be connected to our motherboard and CPU fan, and if our new cooler has RGB, we must connect it to the motherboard or controller (if compatible)
In this article, I wonder if we have described enough how to replace the CPU heat sink. Suppose you need to purchase a CPU heat sink or customize CPU heat sink. Welcome to contact the professional CPU heat sink manufacturer Coolsolte.